I’ve been wanting to try chalk paint for awhile, but like many others, I’m afraid of the price. So I found a link on Pinterest to make my own chalk paint. So I went and bought the stuff I needed. I had the perfect piece that I had a very specific look I wanted to try.
Supplies:
Quart of Behr paint in >insert color here<
Plaster of Paris
Sanding paper
Minwax Finisher’s Wax
Minwax stain in dark walnut
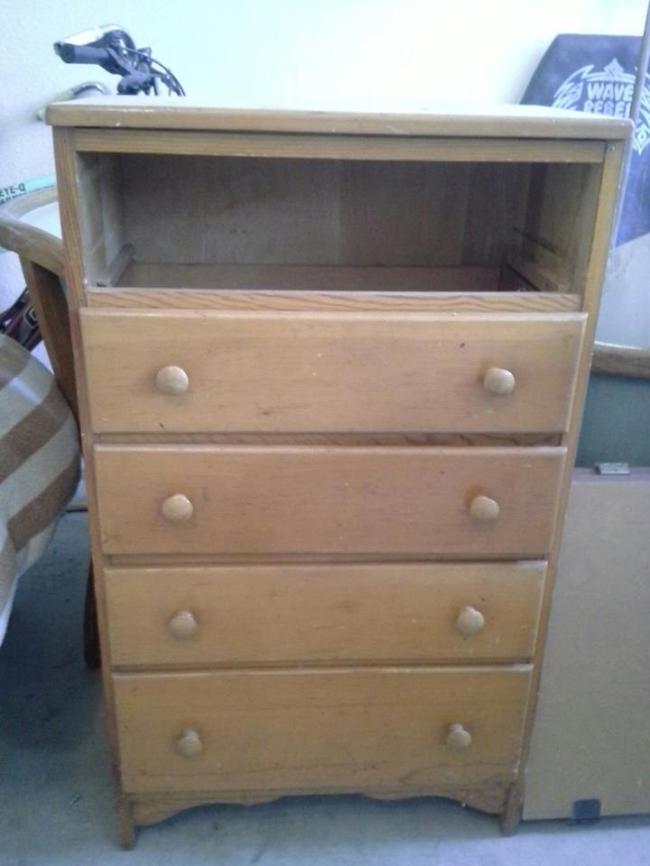
Here is Sami before:
 She was lovely. Nothing wrong with her at all, except for the missing drawer. Good shape, lots of potential.
I started with a light sanding. With chalk paint, you’re supposed to be able to not sand, but I read that many people do a light sanding so I did.
To mix the chalk paint, use 1 part plaster of paris, 2 parts paint, and 1 tbls water. Mix the plaster of paris with water till smooth, then mix the paint. The paint goes a long way and I ended up having to throw a bit of it out because I mixed more than I needed.
It makes it sort of thicker, but really I didn’t notice that much of a difference. I painted it on using a brush. It was a bit streakier than it was supposed to be, being “chalk” paint but I read that it would dry smooth. It took two coats.
I let it dry 24 hours and it was still pretty streaky. Next I transferred the lettering using a trick I learned here.
After letting the letters dry, I sanded down the edges to distress. I added a bit of the finishing wax, but there really wasn’t a difference. I think the wax was too light. So I used the Dark Walnut stain and did a light coat over the top of the paint, then wiped off excess. Afterwards, I tried to use the wax again and it just wiped off the stain, so no wax for Sami.
After adding and painting the shelf in the top, Sami is pretty much done. I think she looks super cute.
My “chalk” paint verdict: I’m not sure what the difference is between my concoction and real chalk paint, but to me, I didn’t do anything differently than if I used regular paint. The lines from the brush were still there. There weren’t any less steps. In fact, there were more, since I had to mix the plaster of paris, then mix it with the paint.


Sami looks great! I love the detail you added. I have used my own DIY chalk paint quite a few times- it does add a bit of a step, I think the only advantage is that you don’t have to prime first on most surfaces and also that it sands off and distresses quite nicely. I have never tried the stain… or dark wax. I want to try the dark wax one of these days. Your piece turned out really well!